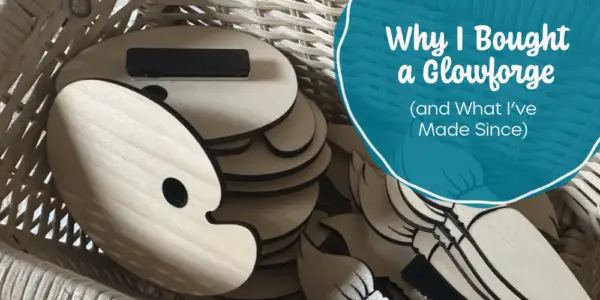
A few years ago, my dad helped bring back the Cuchara Art Show, a small event that’s been close to my heart and rooted in family. This year, I finally took on a project I’ve been dreaming about for a while: transforming the artist and volunteer name badges into something more meaningful and more sustainable.
Inspired by the badges created by the amazing Shawn Bridges, I had this vision of collectible badges—like the kind my grandmother used to display in her bathroom. I wanted something people could save as a memory, not just toss in the trash.
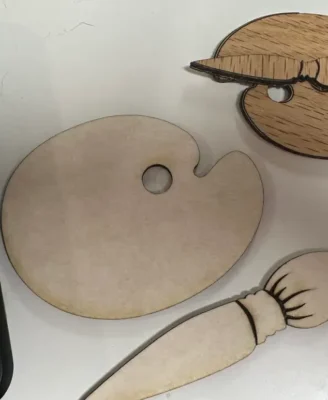
I’d actually drawn the original paintbrush design in Illustrator over a year ago, thinking maybe someday I’d figure out how to make it real. Well, someday came fast. While my dad was visiting earlier this year, I found a Glowforge Aura listed on Facebook Marketplace. The price was right, and the seller (another graphic designer) was upgrading to a Pro. I bought it that day.
I was so excited, I rushed to get the badges started that same day while my dad was still in town. I pulled up the paintbrush file, quickly created a palette to go with it, and sent them to cut.
Except… they didn’t cut all the way through. And they were way too small.

That first attempt taught me a lot. The Glowforge wasn’t cutting through because I hadn’t cleaned the lens (oops!) and didn’t have the settings quite right. Once I fixed those and worked with my dad to measure the paper badges from previous years, I could properly scale the designs.
I cut one paintbrush and one palette as a test and realized the paintbrush was too narrow for the magnetic badge back. I tweaked the file, cut again… and it worked. Once I added the magnetic badge backing it was perfect and coming to life.
The only snag? They’re still a little small for hand-lettering names, but I’m making it work. I tested different writing materials on a mis-cut piece of wood to avoid ruining the good ones. Even though Proofgrade wood is treated, the Posca markers still would bleed a little. My husband helped me find a spray sealer to coat the surface first. After drying out in the hot, dry Colorado sun for a few hours, the wood was much more paint marker-friendly.
Of course now I’m being a total perfectionist about my handwriting, but that’s a separate challenge. Still working on it. And on practicing with Posca markers too.
I love working as a designer, but so much of what I do lives in the digital space. Getting to design something, cut it, hold it, test it, fix it—that’s a whole different kind of rewarding.
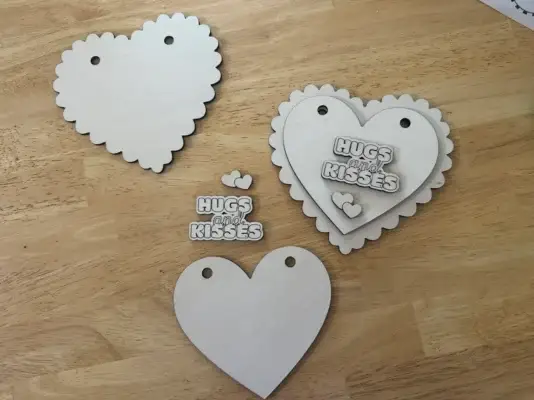
In addition to the badges (I’ve now made nearly 100 of them), I’ve used my Glowforge for all kinds of custom projects:
I’m still exploring materials, I haven’t even attempted the Eco Iron-On Vinyl yet, but every project teaches me something new.
If you’re a designer who loves hands-on creativity or just someone with a lot of crafty ideas, the Glowforge can be an amazing tool. It’s not cheap, and it definitely takes some trial and error, but I’ve loved the challenge of learning a new process and bringing my designs into the real world.
You can:
The art show is growing every year, and I’m already planning next year’s badge update. If I can make something functional, personal, and beautiful and learn something new in the process, that’s a win in my book.
Got questions about the process or what I’ve learned? Drop them in the comments!